


Meet Innovations,
Rediscover Your Style!

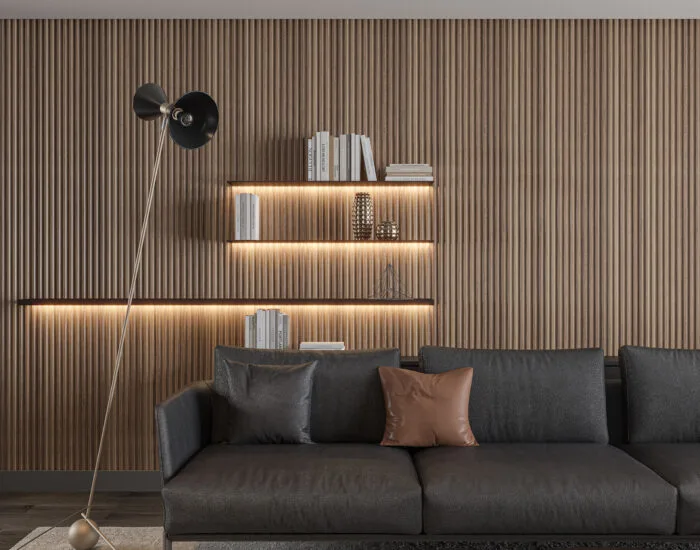
The Key to Modern Spaces: Wood Wall Profile Installation Guide
If you want to go beyond traditional decoration and add architectural depth to your spaces, wall profiles are the most effective solution. At Acarkon, our high-density MDF and natural wood-veneered wall profiles provide a visual feast while also improving the acoustics of your environment.
In this guide, we explain step-by-step how to install wall profiles like a professional.
Preparation: Essentials for a Perfect Finish
Wall profile installation requires working with larger pieces compared to standard molding:
- Acarkon Wall Profiles: (Fluted or linear modern designs).
- Laser Level: To guarantee the verticality (or horizontality) of the profiles.
- High-Strength Panel Adhesive: To support the weight of heavy wood panels.
- Miter Saw: For clean lines at the starting and ending points.
- Baseboards and Corner Profiles: To cover transitions seamlessly.

1. Step: Wall Preparation and Acclimatization
Before applying wood profiles, let the materials rest in the application room for at least 24 hours. This allows the wood to adapt to the room's temperature and humidity.
- Ensure the wall is completely dry and clean.
- Scrape off any wallpaper residue or peeling paint.
2. Step: Aligning the First Profile with a Laser
The most critical moment of the application is the placement of the first profile. If the first profile is crooked, the entire wall will continue at an angle.
- Turn on the laser level and create a perfectly vertical line at the starting point.
- Do not start from the corner of the wall; proceed along the line shown by the laser.

3. Step: Adhesion and Locking System
Acarkon wall profiles typically feature an interlocking (tongue-and-groove) system.
- Apply adhesive in an "S" shape to the back of the profile.
- Press the profile onto the wall and ensure the locking system is fully engaged.
- Tip: If the profile is very long, you can secure it with small, invisible screws at the top and bottom until the adhesive sets.
4. Step: Corner and Edge Transitions
When you reach electrical outlets or wall corners, cut the profile to the appropriate size using a precision cutting machine.
- Use a jigsaw to cut internal openings for power outlets.
- For external corners, join the profiles by cutting them at a 45-degree angle or finish the look using Acarkon corner trims.

5. Step: Final Touch and Cleaning
Once all profiles are in place, complete the installation by adding matching baseboards or crown moldings where the panels meet the ceiling and floor.
- Wipe away dust from the profiles with a slightly damp cloth.
- Acarkon profiles are factory-finished and generally do not require extra painting, which saves you time.

Why Choose Acarkon Wall Profiles?
With their quick installation, contribution to sound insulation, and plastic-free natural content, Acarkon Wall Profiles are the strongest element of modern architecture. You don’t just gain a wall; you give your space a unique character.
